-
 Getting started
 -
 RVsitebuilder Overview
 -
 Creating Website
 -
 Website Blog
 -
 SEO
SEO -
 Website Email
 -
 Website Membership
 -
 RVsitebuilder Apps
 -
 Advanced
 -
 Website Management
 -
 Internationalization
 -
 Troubleshooting
Website Design
Create a new site
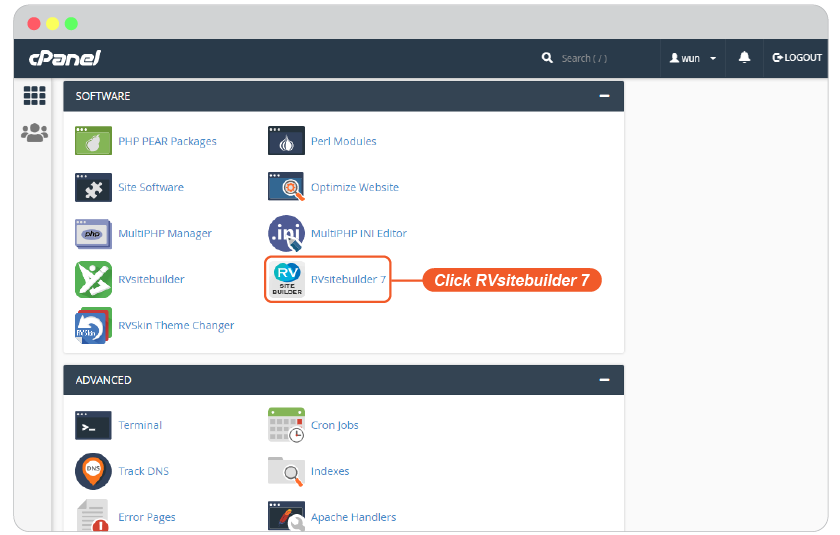
By cPanel control panel
- Login to control panel.
- Look for Software feature group.
-
Click on "RVsitebuilder 7" icon.
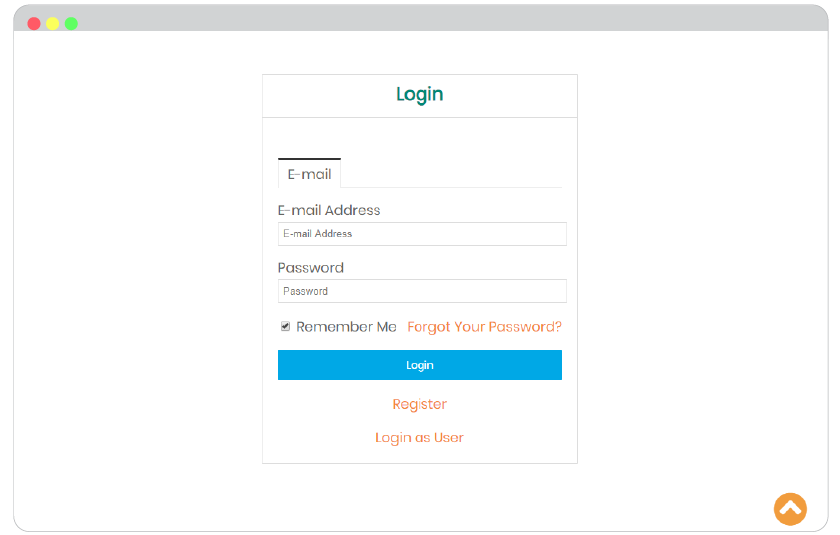
By your domain name
-
Open domain name on browser with /admin/login (You can set the domain name login for admin by this guide.
-
Enter admin login.
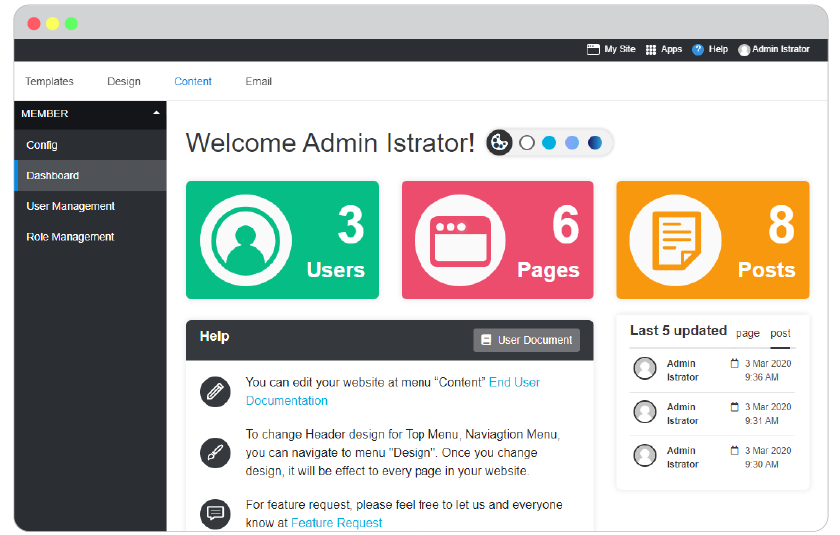
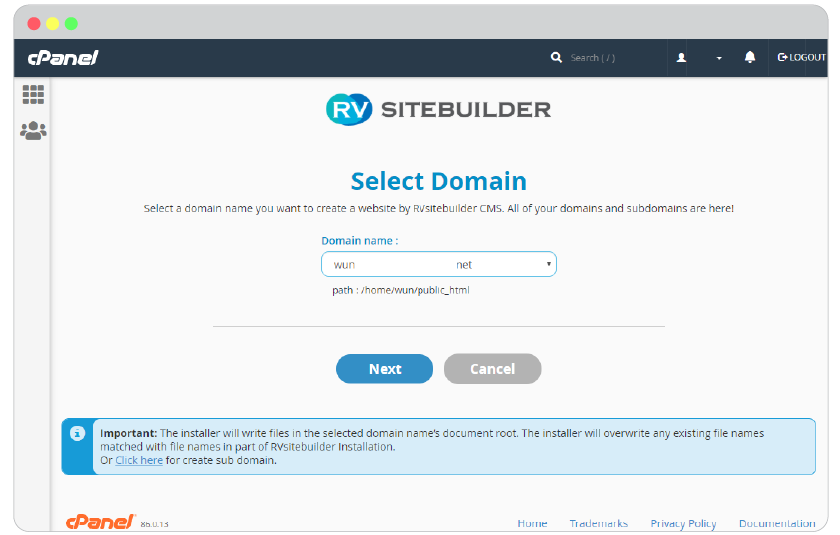
Select Domain Name
After logging in, you can start your professtional site in 1 minute!
-
Start with click Create new site
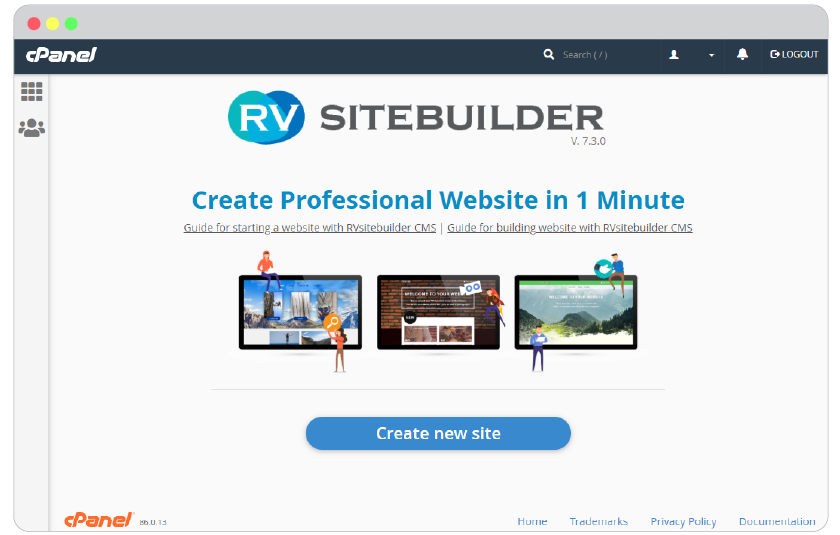
-
Selecting a domain name you want to create a beautiful professtional website with RVsitebuilder 7 and clicking "Next" to continue.
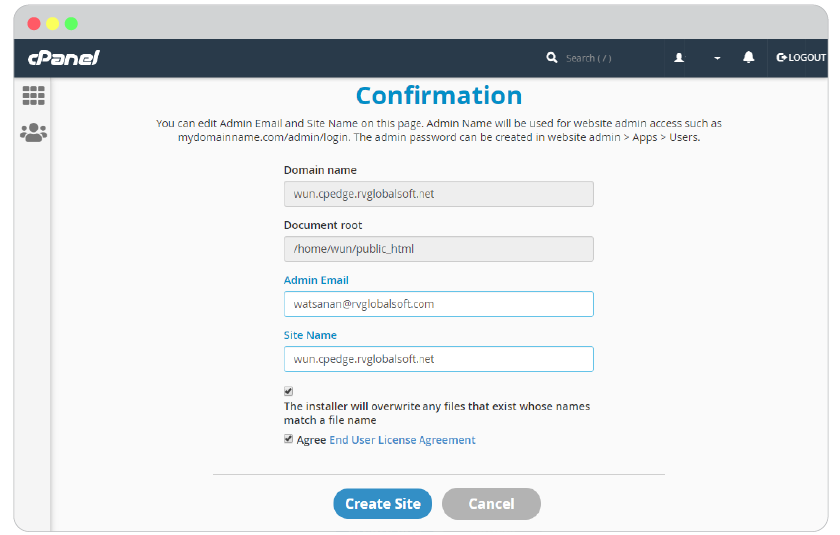
-
Check the information and add Admin Email, then check boxes to agree with our License Agreement.
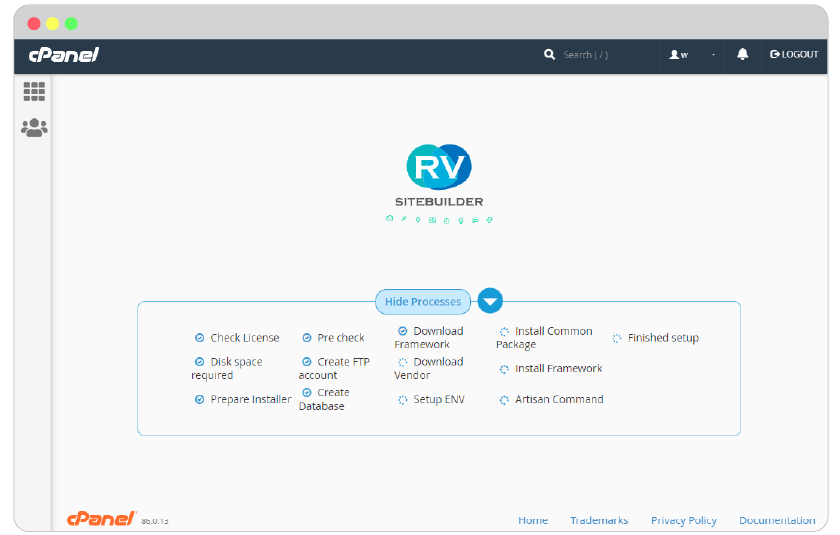
-
Have a cup of coffee while waiting for RVsitebuilder 7 creates itself in your domain name.
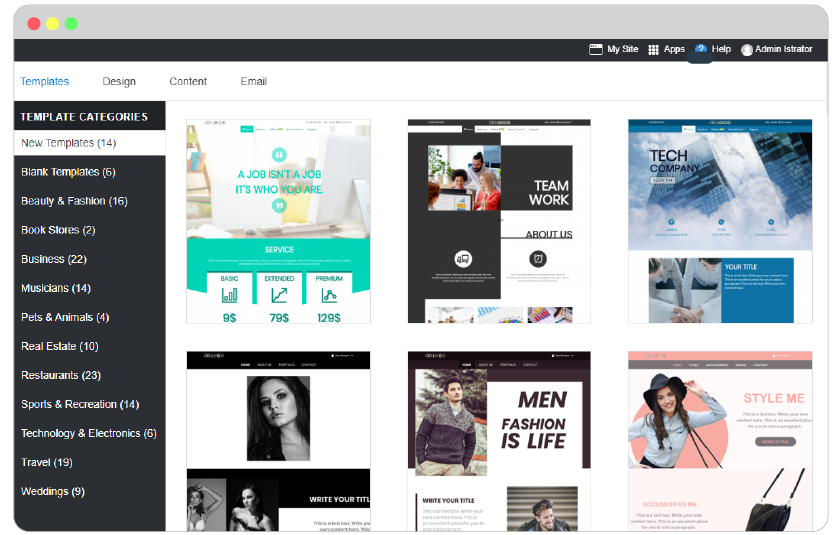
Select Template
On your first create site by steps above, you will be welcome to Templates tab to select a template for your website.
Start a ready-to-edit website by selecting one from free beautiful templates from this step.
Customise template
After the one-click create my site and select a template already, you sure want to design it as beautiful as your style.
Then let's start from Edit website banner.
Edit website banner
Banner is the top most of your website and it's the most attractive part. RVsitebuilder 7 allows you to use website banner in 2 styles; Hero Banner and Slide Banner.
Hero Banner
If you selected a template with Hero banner, you can change its image and color.
-
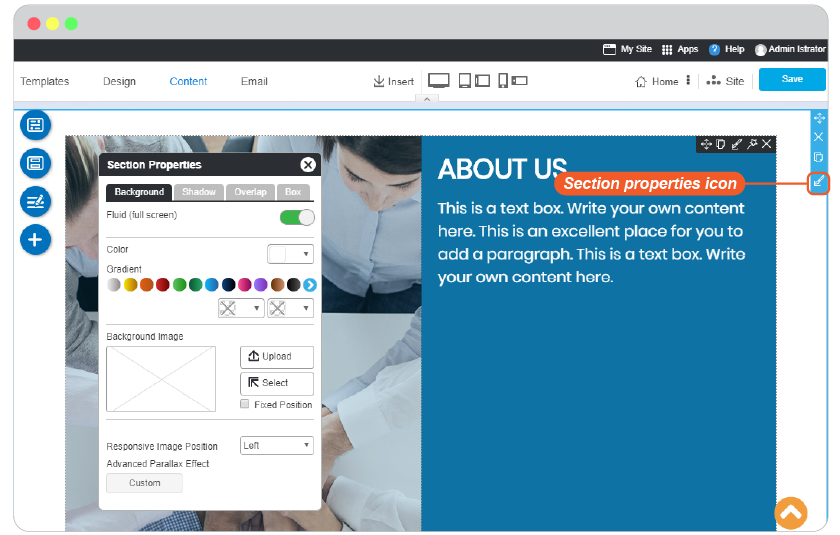
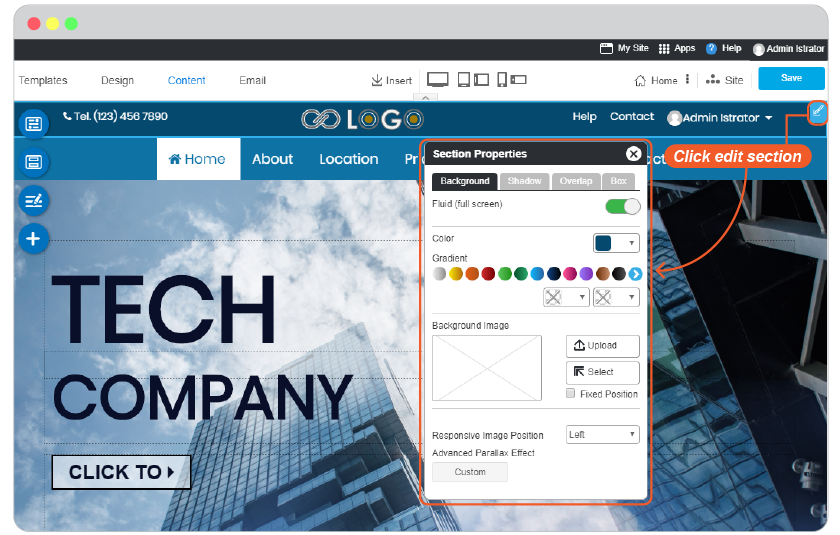
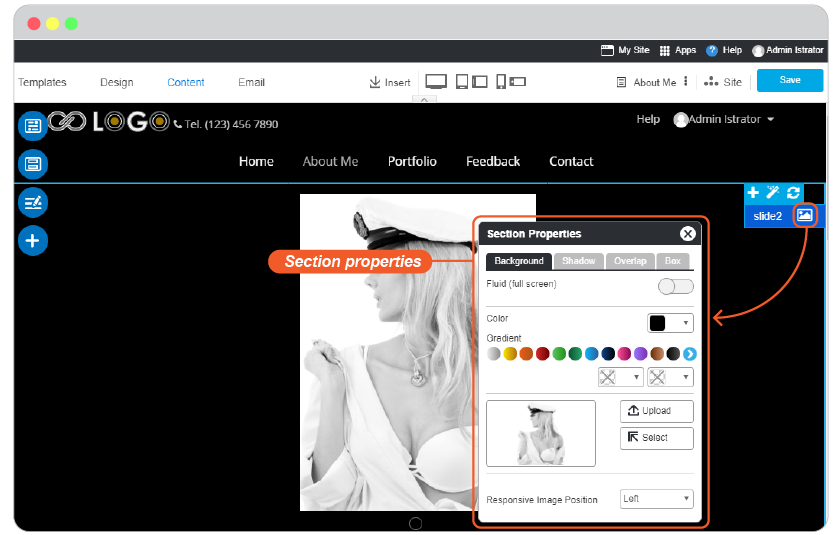
Click on Header banner area, then click on the edit tool icon on the right corner.
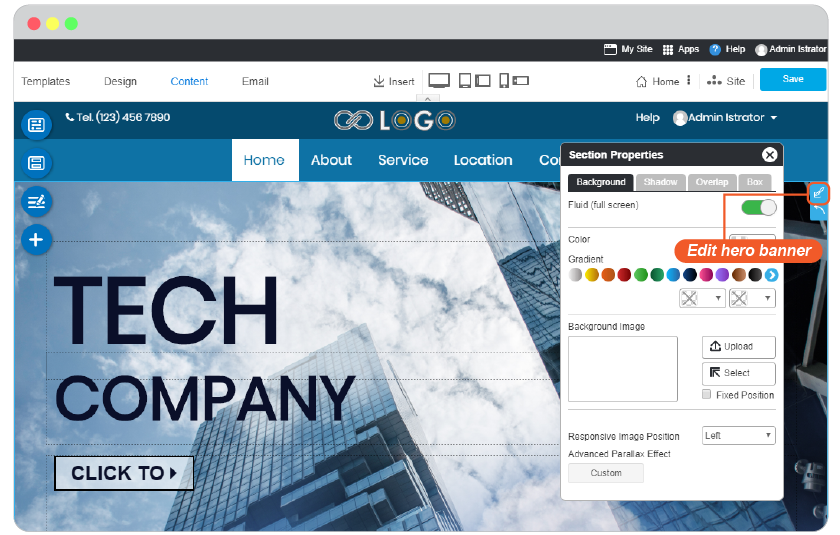
-
The Section Properties pops up which it allows you to change banner image, set shadow for image, make the image overlapped, and the box border of the banner image.
-
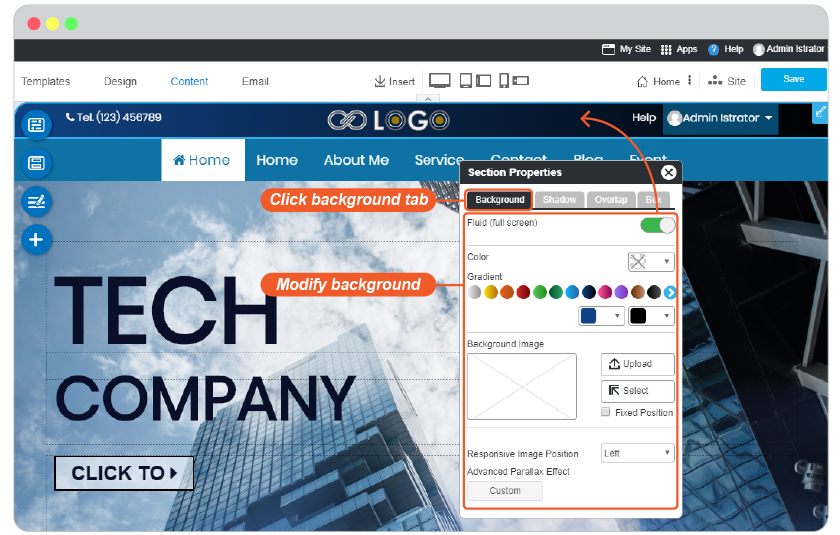
Background
Fluid (full screen): Enable or disable a full screen section.
Color : Select background color by using color picker or choosing from a gradient color.
Background Image: You can upload your own image or select one from Image Manager.
Reponsive Image Position: Image alignment on responsive mode.
-
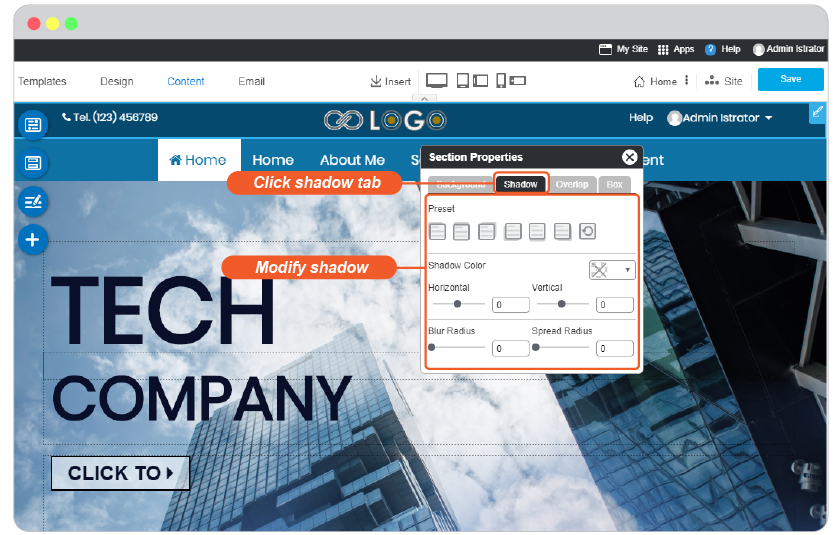
Shadow
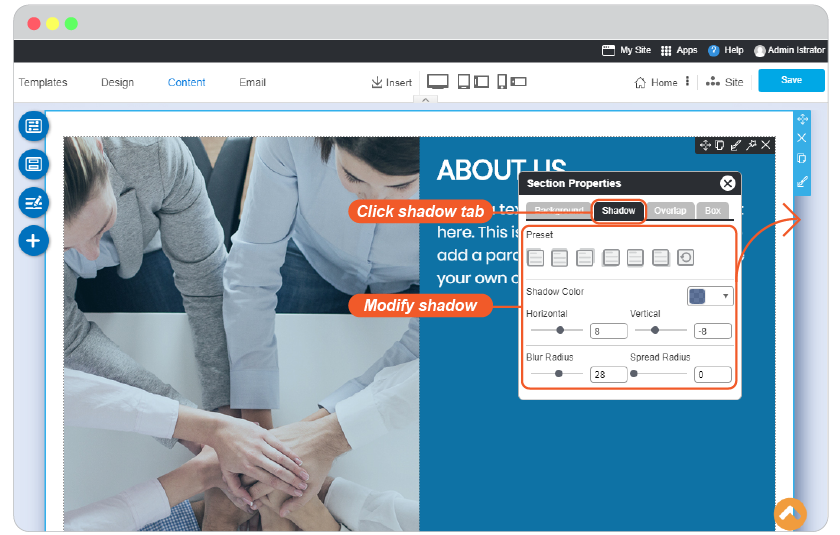
You can select 6 shadow preset styles which you can modify color and size on the below setting.
-
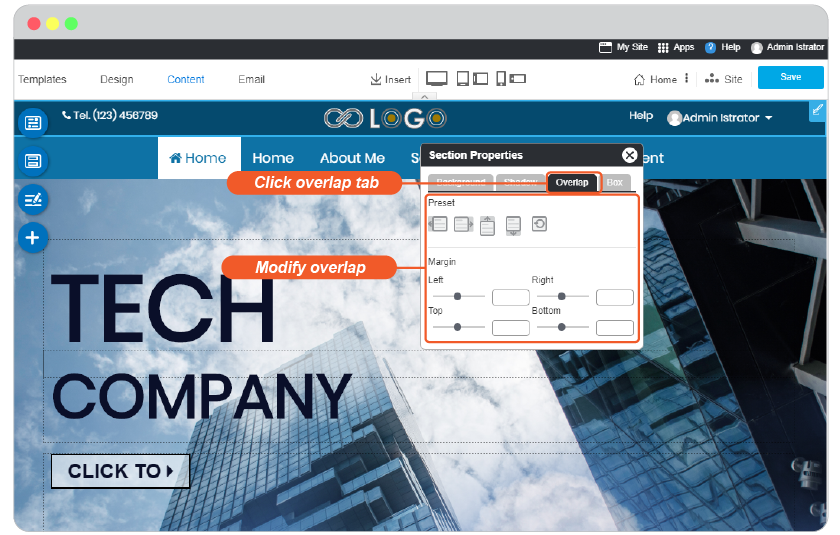
Overlap
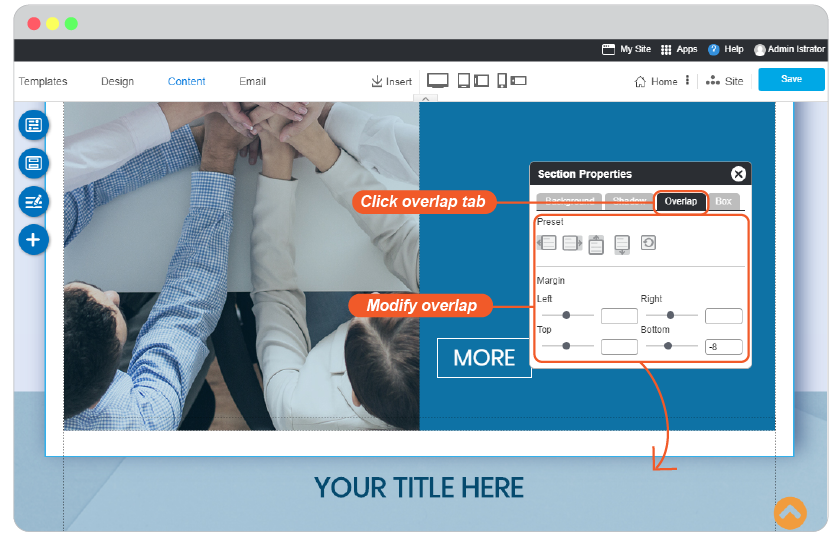
Make one section to overlap the other. Here you can make image banner to overlap the first content or make the first content overlap the banner.
-
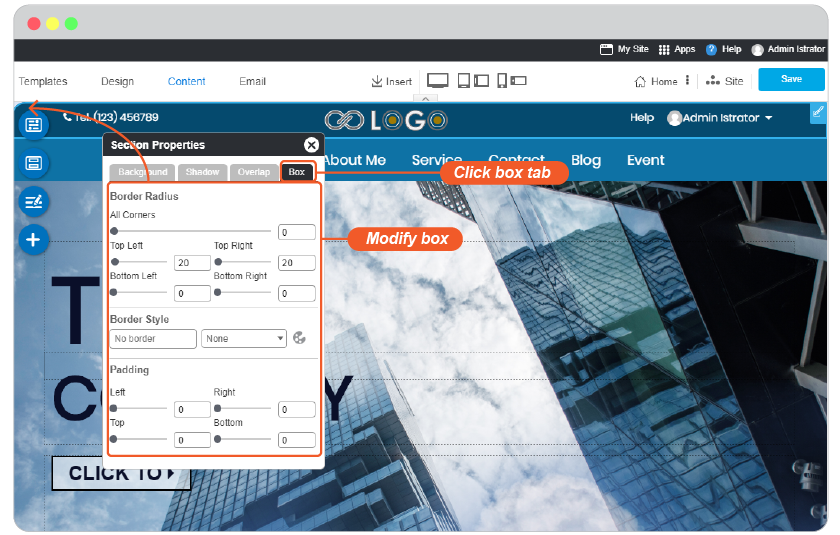
Box
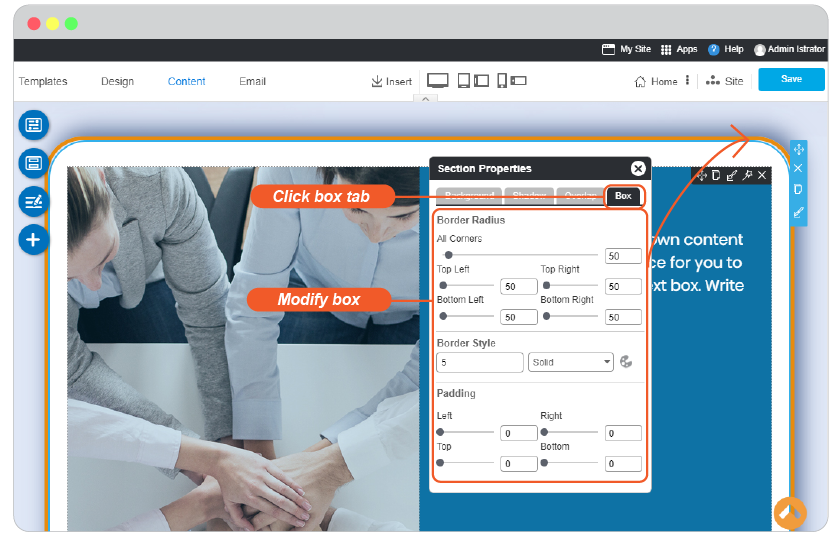
Add and edit border of the image.
-
Note: If you're setting website banner at Home page, it will affect to ALL pages.
Slide Banner
If you started your website with Slide banner template, you can change those images and slide effect for them.
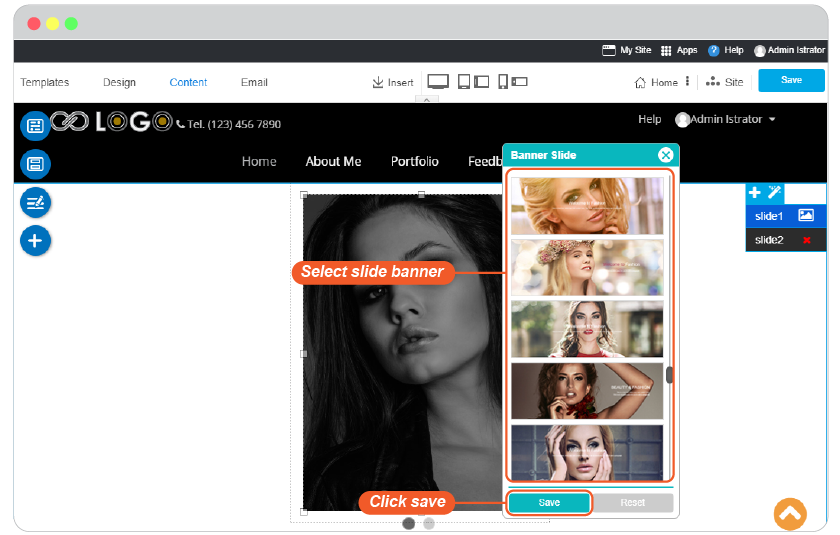
Edit slide image
-
Click on Header banner area, then click on image icon on the number of slide template you want to edit. You may start from slide1.
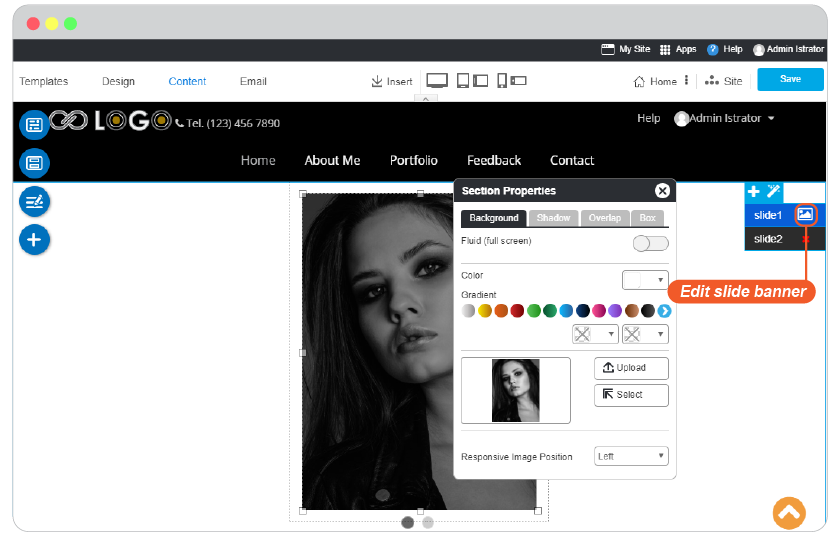
-
The Section Properties pops up which it allows you to change banner image, set shadow for image, make the image overlapped, and the box border of the banner image.
-
Background
Fluid (full screen): Enable or disable a full screen section.
Color : Select background color by using color picker or choosing from a gradient color.
Background Image: You can upload your own image or select one from Image Manager.
Reponsive Image Position: Image alignment on responsive mode.
-
Shadow
You can select 6 shadow preset styles which you can modify color and size on the below setting.
-
Overlap
Make one section to overlap the other. Here you can make image banner to overlap the first content or make the first content overlap the banner.
-
Box
Add and edit border of the image.
-
Note: If you're setting website banner at Home page, it will affect to ALL pages.
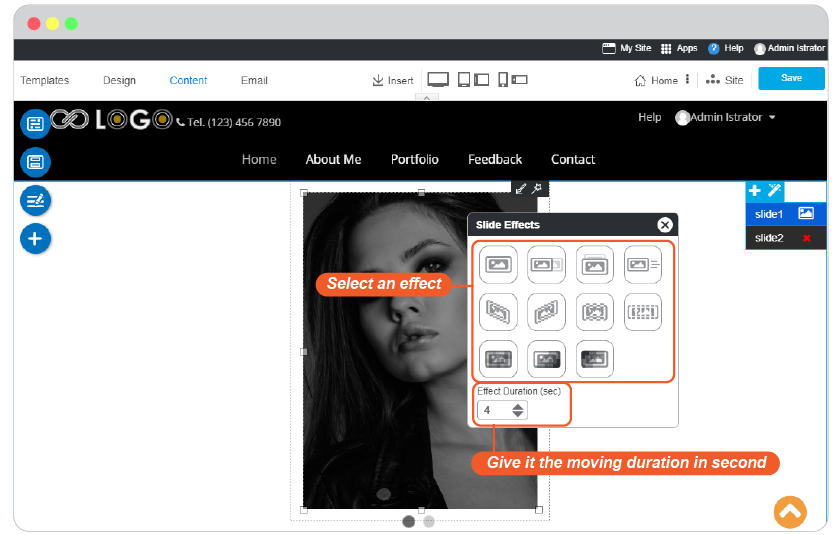
Add effect to slide banner
-
Click on Header banner area, then click on Effect icon.

-
Select an effect for your banner slide and give it the moving duration in second.
Note: If you're setting website banner at Home page, it will affect to ALL pages.
Add more slide images
-
Click on Header banner area, then click on Add Slide icon.
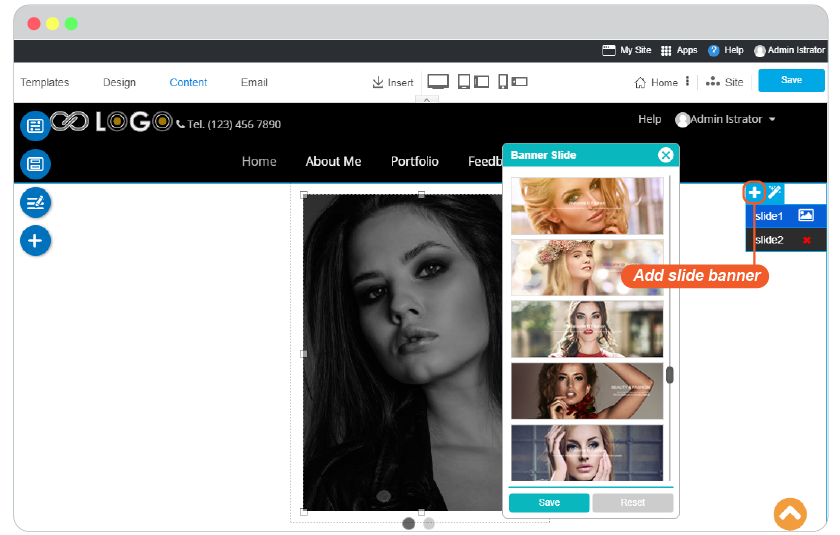
-
Select one from pre-installed image list, then change it later.
Note: If you're setting website banner at Home page, it will affect to ALL pages.
Edit website navigation style
Manage your Top Menu and Menu
Top Menu
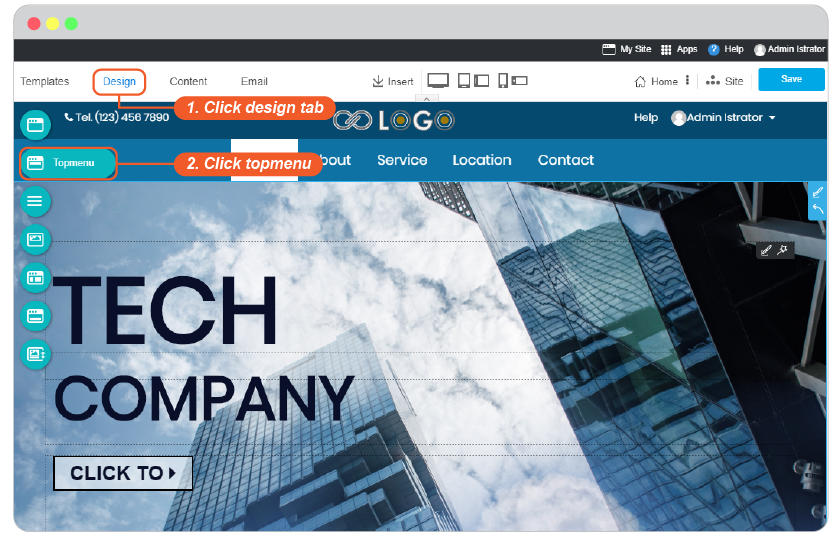
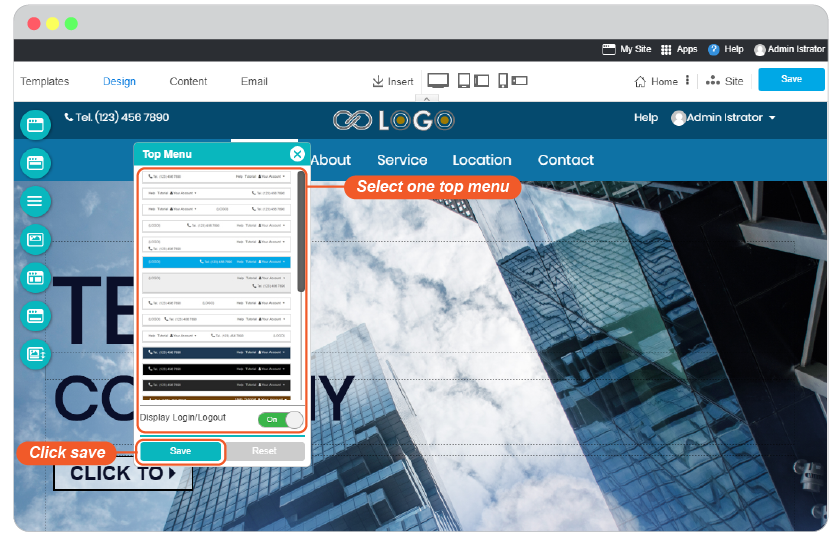
Select Top Menu style
Most of the visitors who access your website do not have much time to spare. The key is to wisely display those links which your visitors are looking for. Once your products are easily accessible, your visitors are likely to turn into reliable customers.
You can select a Top Menu style anytime.
-
Click Design tab and Topmenu.
-
Select one from Top Menu style, and don't forget to click Save.
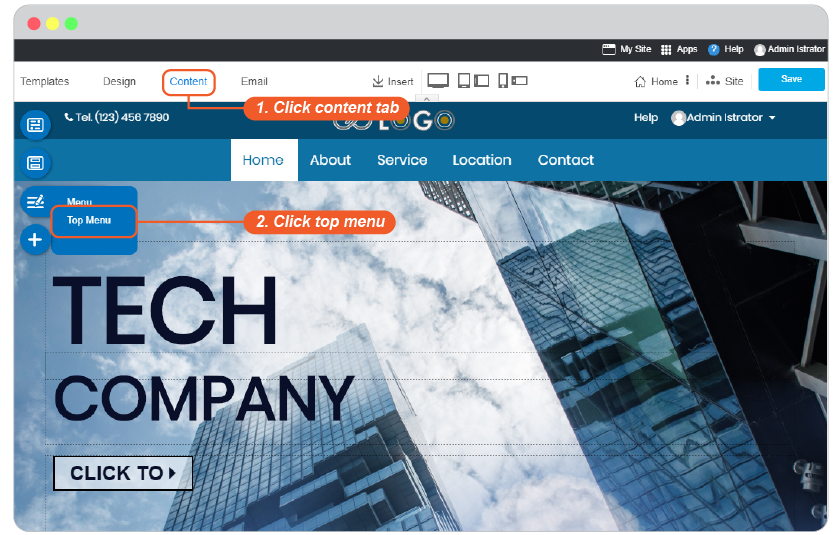
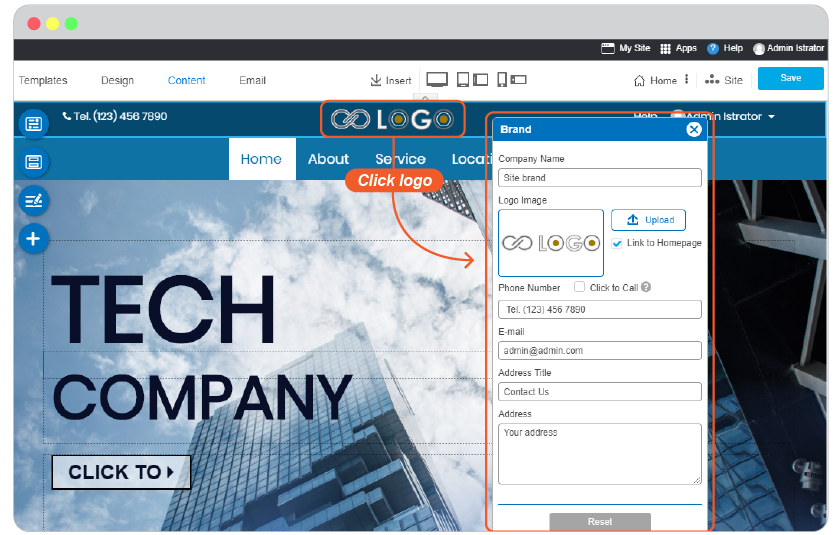
Edit Top Menu branding
-
In Content editor, click "Top Menu" on floating menu.
-
Click on website logo to change your own company logo and insert your company address.
Edit Top Menu background
You can change backgrond color for Top Menu for when you want to make it more cheerful or when you care of the test might be sunk in it.
-
In Content editor, click "Top Menu" on floating menu.
-
Click on Top Menu to activate Section Properties. It allows you to change background image, set shadow, make section overlapping, and edit box border of this section.
-
Background
Fluid (full screen): Enable or disable a full screen section.
Color : Select background color by using color picker or choosing from a gradient color.
Background Image: You can upload your own image or select one from Image Manager.
Reponsive Image Position: Image alignment on responsive mode.
-
Shadow
You can select 6 shadow preset styles which you can modify color and size on the below setting.
-
Overlap
You can make this section to overlap the above or below content section or being overlapped by them.
-
Box
Add and edit border of this section.
-
Menu
This part is useful in organizing the information on your website so that your visitors have a clear idea of your products and services.
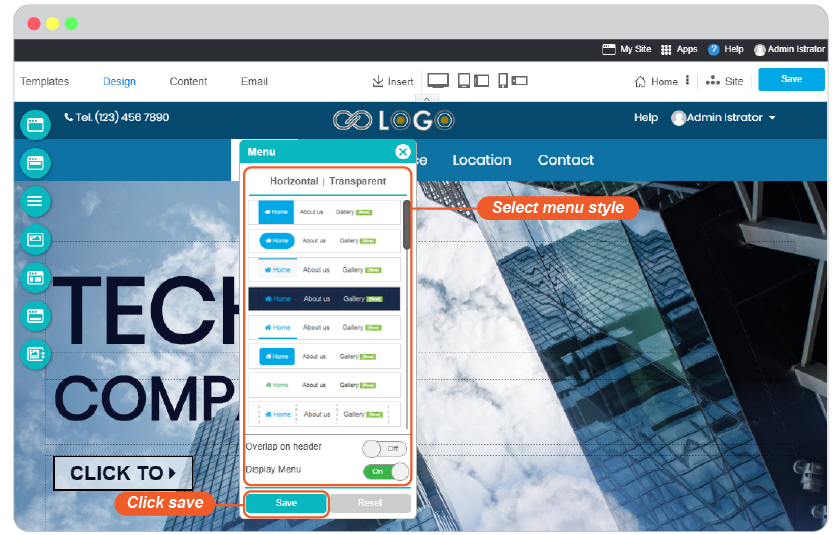
You can select a Menu style anytime.
-
Click Design tab and Menu.
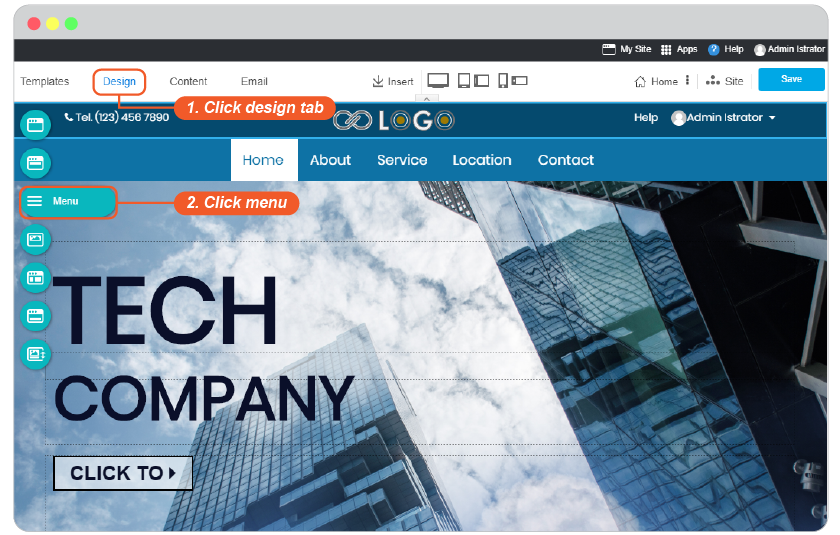
-
Select one from Menu style, and don't forget to click Save.
Sort Header Positions
You can reorder Header positions between Banner, Top Menu, and Menu to make your website more unique than the deafult positions added from template you selected.
-
Go to Design tab, and Sort Header.
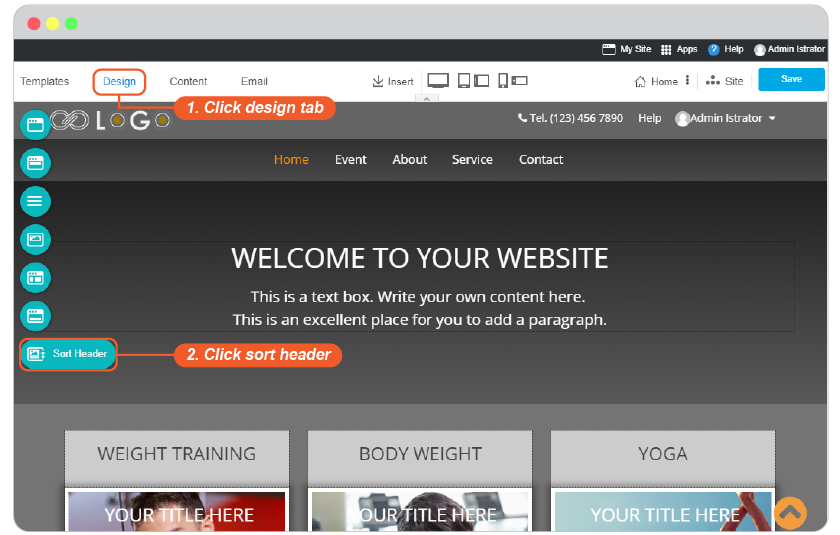
-
Freely drag and drop Banner, Top Menu, and Menu as order you want in Header area.
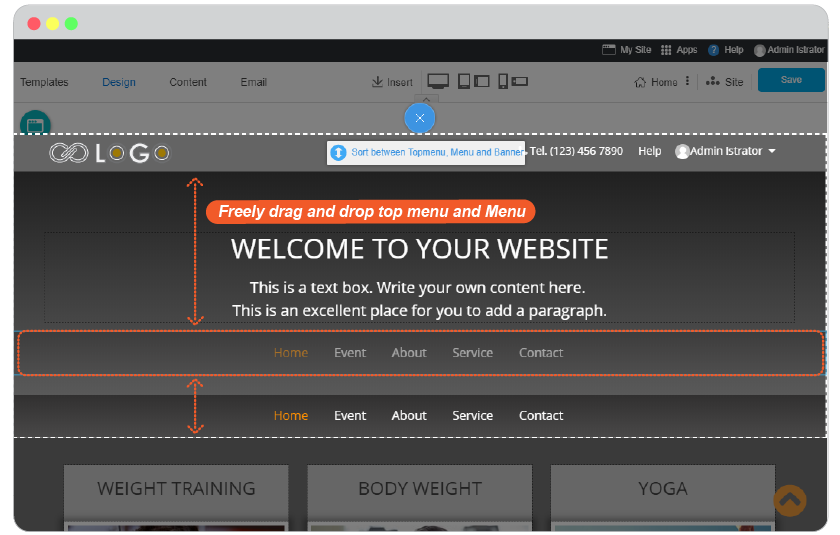
-
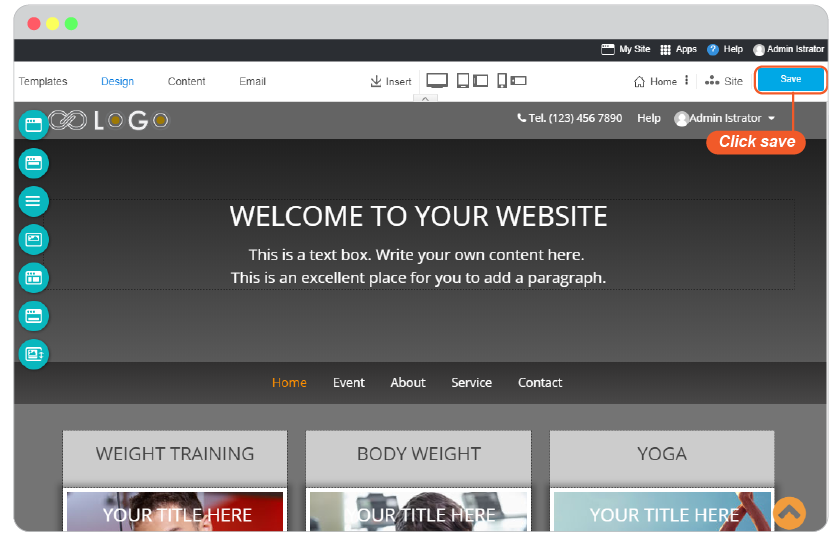
Close with Cross (close) mark, and Save it on Content edior page.
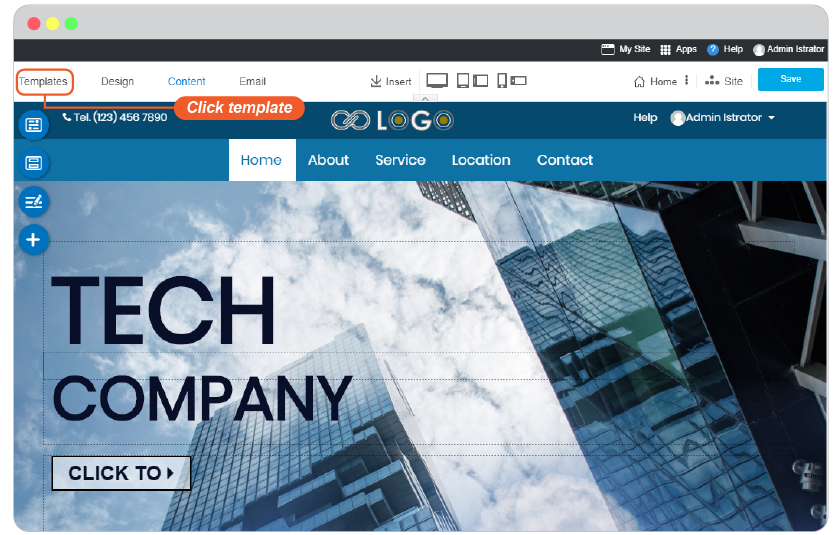
Change template
You may want to change template on your website for seasoning, changing Hero template to Slide or changing Slide template to Hero. It's easy as just click on Template tab.
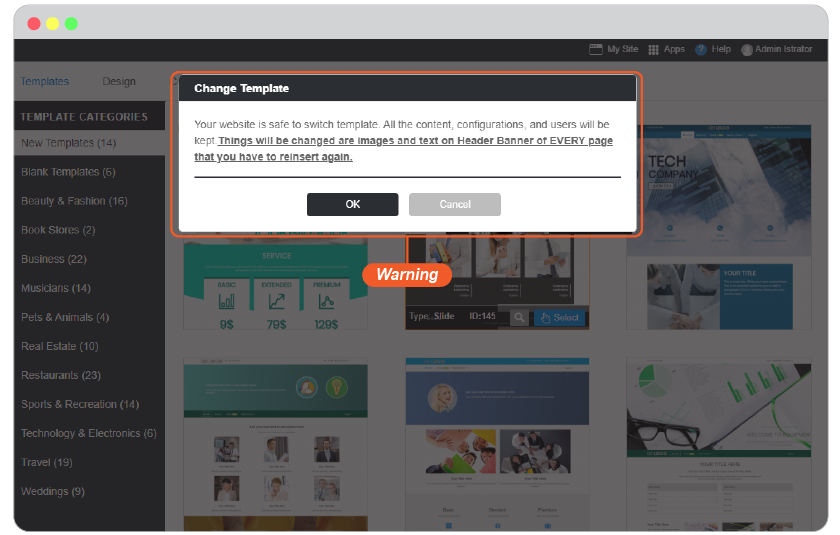
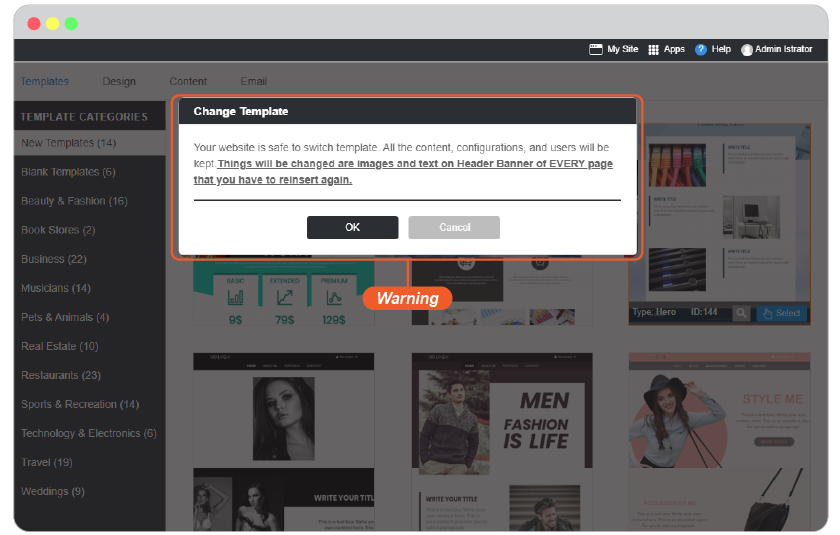
What's to concern for changing website template
Website content, configurations, and users are safe and kept.
Things will change are images and text on Header Banner of every page that you have to reinsert again.
Change Hero template to Slide
You may first started your website with an immoveble Header and Content for cool but feel it needs moveable header to present what you just added to your website or business.
-
Change on some page
If you want to change Hero banner to slide images, you switch it page by page. This way, you will have some page with Slide images Header, and Home page and the other pages still have Hero banner.
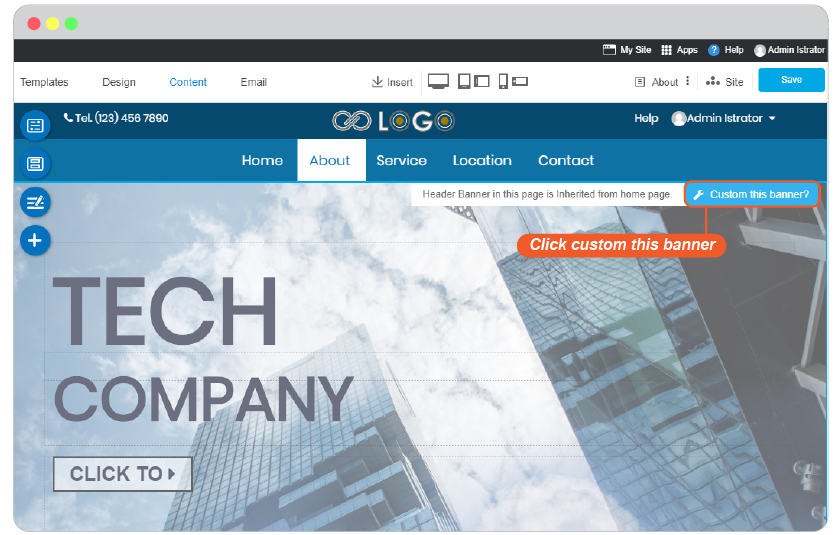
First time changing header banner image of any other page than Home page. It will require you to make sure to Custom this banner.
-
Just click on custom this banner
-
Select one banner image and Save.
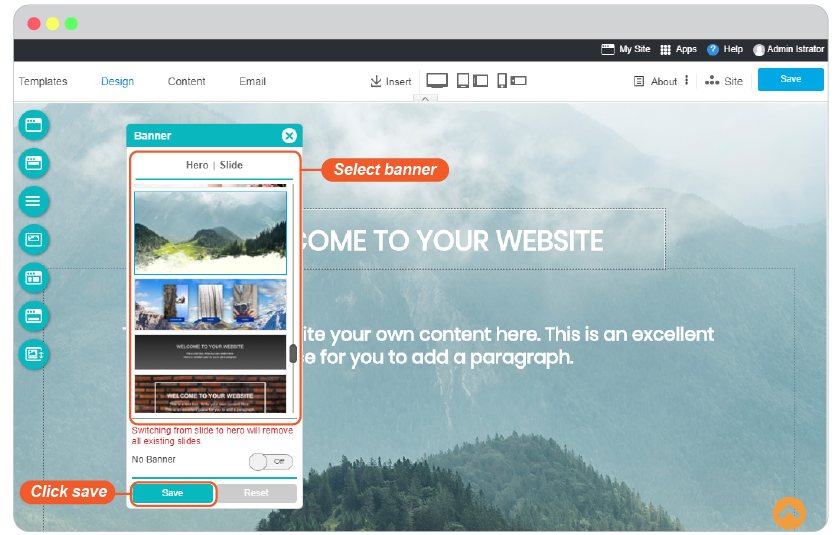
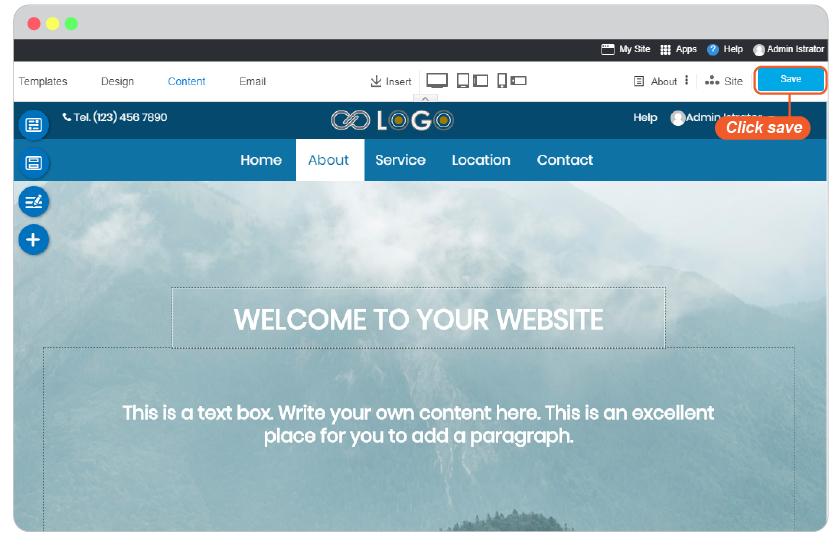
-
Don't forget to Save what you selected by the main Save button on the right top.
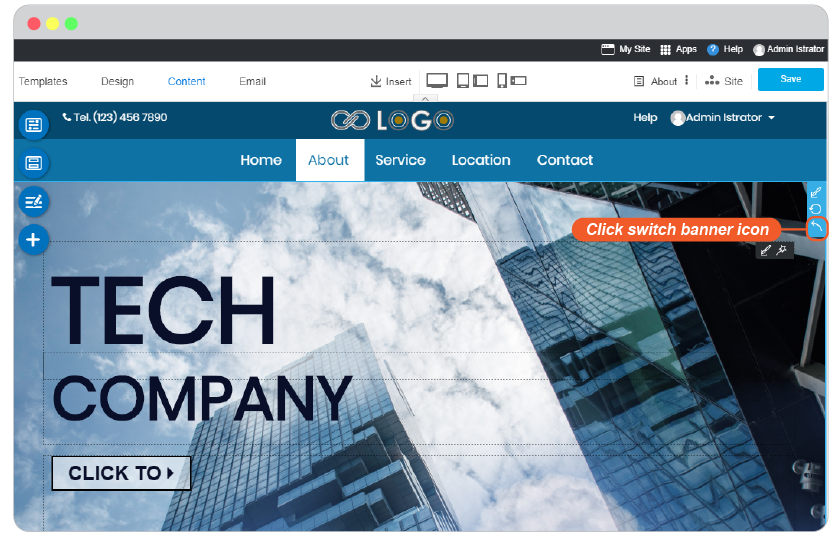
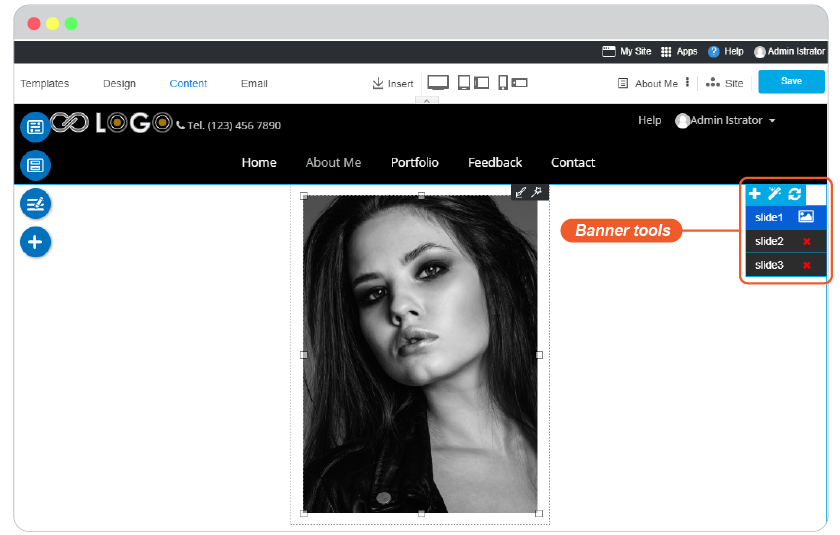
Changing header banner image on these other pages for second time and later
-
On the Banner tool, click "Switch Banner"
-
Select one banner image and Save.
-
Don't forget to Save what you selected by the main Save button on the right top.
-
-
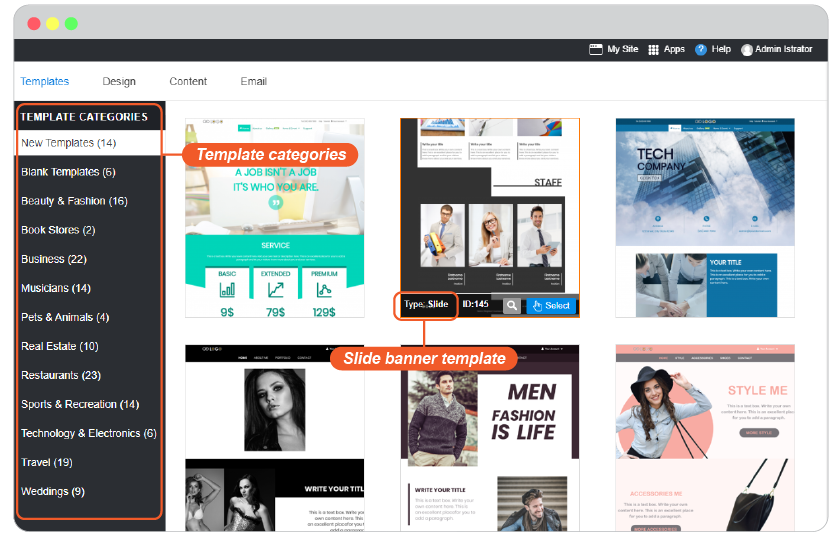
Change for the entire website
-
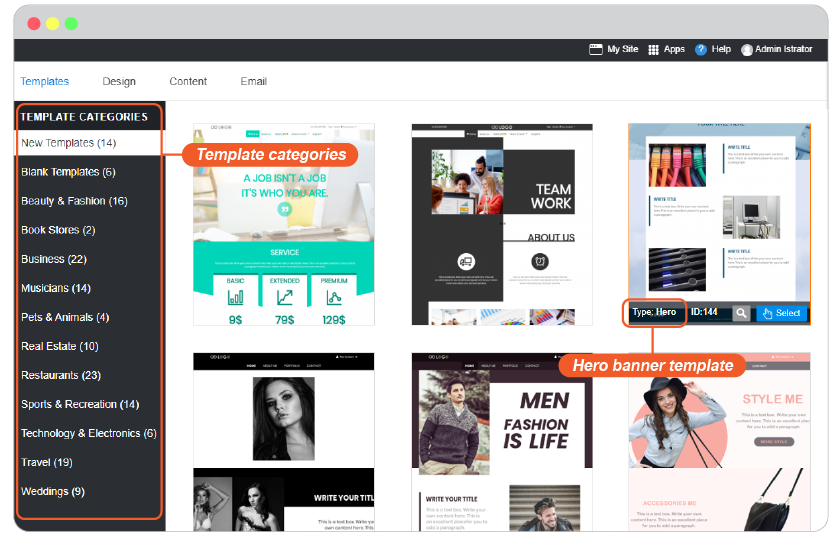
Just click Templates tab, and sneak on Template Categories list for the most relative, and place mouse (not click) on a template you like and see its type. You're finding a movable slide images on website header, so keep looing for "Type: Slide".
-
By selecting a most favorite slide banner will pop you a warning about what's to concern on changing template.
-
Sure to change it, just click OK.
-
Change Slide template to Hero
You may feel the slide images on Header are none of use by some reason.
-
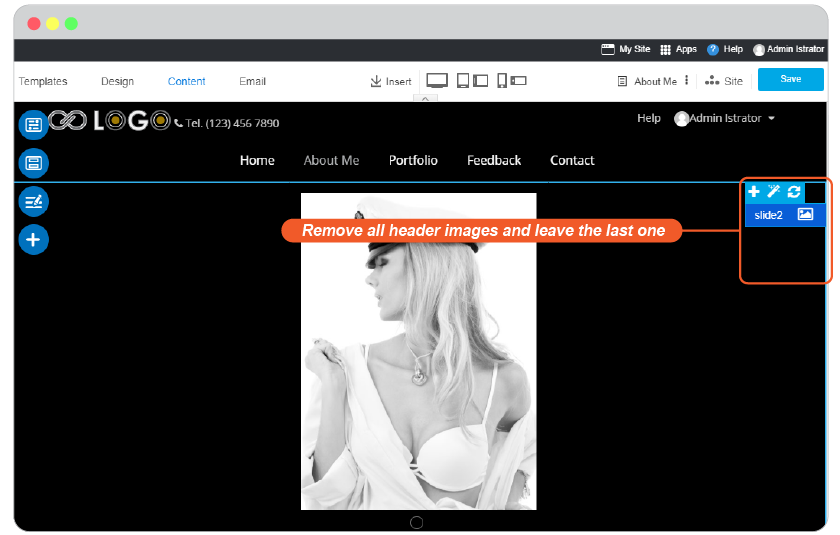
Change on some page
If you want to change Slide header to be just an immoveable image for cool, you can remove unused images from Header of the page. This way, you will have some page with Slide images Header, and some with immoveable image.
-
One the page you want to remove Slide images, click on Header banner to activate Banner tools.
-
Click remove all Header images and leave the last one.
-
On this remaining image, edit it as you want it to be. You can see how to customise banner at Customise template
-
-
Change for the entire website
You can change the Slide Header banner for the entire website at once.
-
Just click Templates tab, and sneak on Template Categories list for the most relative, and place mouse (not click) on a template you like and see its type. You're finding a Hero banner, so keep looing for "Type: Hero".
-
By selecting a most favorite slide banner will pop you a warning about what's to concern on changing template.
-
Sure to change it, just click OK.
-
Publish
Just click Save button, your website will online immediately. No longer PUBLISH BUTTON. It's a new save system in a single Save button that brings your website online in a blink!
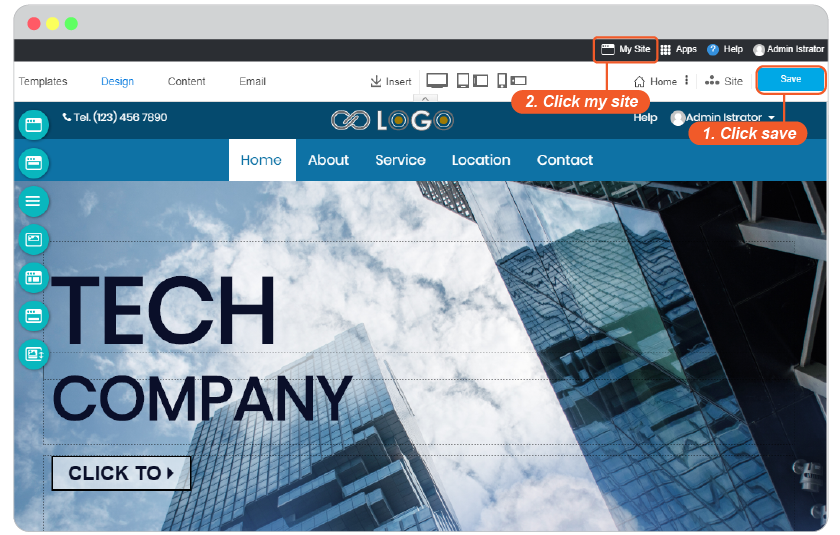
Now your website is online!
Let's go further for more beautiful and unique one!
You may continue next step with;
1) Website Menu
4) Online Form